5 Easy Steps to Host Your Own Email Server
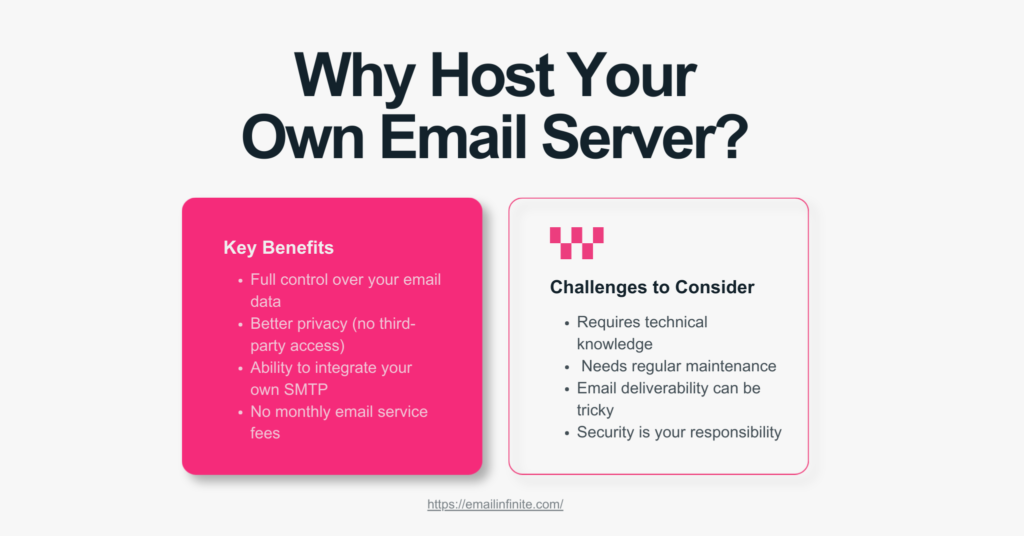
A self-hosted email server is a mail system you run on your own server or VPS rather than using a third-party provider. It gives you complete control over sending, receiving, and storing emails. When you integrate your own SMTP, you take it a step further—managing how your emails are sent, authenticated, and delivered. Below are the steps to host your own email server. With EmailInfinite, businesses can leverage self-hosted email servers while still benefiting from a structured email marketing system.
Step 1: Choose the Right Email Server Software
To successfully integrate your own SMTP, choosing the right software is critical.
Best Self-Hosted Email Server Options
Postfix + Dovecot (best for full SMTP control)
Mail-in-a-Box (easy setup)
iRedMail (feature-rich)
Modoboa (admin-friendly)
hMailServer (Windows users)
What to Look For
Built-in SMTP support
Easy configuration
Strong security features
Active community support
Step 2: Prepare Your Server and Domain
Before you integrate your own SMTP, your server must be properly configured.
Basic Requirements
2–4 GB RAM
Static IP address
Registered domain name
Stable internet connection
Essential DNS Records for SMTP
To improve email deliverability:
MX Record → routes incoming emails
SPF Record → verifies sending servers
DKIM → signs your emails
DMARC → prevents spoofing
Without these, your emails may go straight to spam.
Step 3: Install and Configure Your Email Server
This is where you actually integrate your own SMTP server.
Linux Installation (Recommended)
Install Postfix (SMTP server)
Install Dovecot (IMAP/POP3)
Configure your domain
Enable SMTP authentication
Windows Installation
Install hMailServer
Configure SMTP settings
Add your domain and users
Enable authentication and relaying
SMTP Configuration Essentials
Use port 587 (submission)
Enable SMTP authentication
Configure TLS encryption
Set sending limits to avoid spam flags
Step 4: Set Up Email Access (Webmail + Clients)
Once you integrate your own SMTP, you need a way to access your emails.
Webmail Setup
Install Roundcube or RainLoop
Connect it to your server
Enable HTTPS for security
Email Client Configuration
Use apps like Outlook or Thunderbird:
Incoming Mail (IMAP):
mail.yourdomain.com
Outgoing Mail (SMTP):
mail.yourdomain.com
✔ Enable authentication
✔ Use SSL/TLS encryption
Step 5: Secure Your Email Server
Security is critical when you integrate your own SMTP server.
Why Security Matters
Unsecured servers can be:
Used for spam
Hacked
Blacklisted by email providers
Best Security Practices
Install SSL/TLS certificates (Let’s Encrypt)
Enable firewalls and fail2ban
Use strong passwords
Disable open relays
Backup and Maintenance
Schedule automatic backups
Update server software regularly
Monitor logs for suspicious activity
Frequently Asked Questions
How Can I Integrate My Own SMTP Server?
Install an email server like Postfix, configure SMTP authentication, set DNS records (SPF, DKIM, DMARC), and enable secure ports like 587 with TLS.
What Are the Costs of Hosting Your Own Email Server?
- VPS or hardware
- Domain name
- Electricity (home server)
- Optional security tools
Is a Self-Hosted Email Server Secure?
Yes—if properly configured with encryption, authentication, and regular updates. Poor setup can lead to vulnerabilities.

Send millions of emails daily and schedule campaigns automatically
Contact Us
© 2024. All Rights Reserved.